|
|||
|
|
|
||
| View Shopping Cart |
| Home |
| Guides Available |
| About the Author |
| FAQs |
| Testimonials |
| Articles |
| Contact Andrew |
| Terms & Conditions |
| Mailing List |
| Links |
 |
 |
Get more great
articles like this one absolutely free with every
Gibbs Guides e-magazine. Join
the mailing list!
How To Land An RC Model
Part 2: The Landing
Article by Andrew Gibbs
In the previous article, we discussed how to make a good quality approach, which, all being well, will lead to a good quality landing. This time, we’ll discuss a few additional factors of interest during the approach, and then concentrate on the landing itself.
Wind
The wind is of course a very significant factor to maintain an awareness
of when flying models, and especially when landing. To aid us in this
respect, a windsock and/or a tell tale attached to a transmitter aerial
(antenna) will prove very helpful to give us an idea of what the wind
is doing. It is helpful to remember that any wind indicator only indicates
what the wind is doing in its immediate vicinity - remember that the wind's
direction and strength can and does vary from place to place.
Changes in the wind
From our perspective of standing on the ground, it may not be obvious
but the strength and direction of the wind can also vary quite a lot with
height. This will obviously affect your approach to land. Generally there
is no way to tell what the wind is doing at altitude, except by seeing
its effect on the flight path of the model. However, the behavior of clouds
may provide a useful clue, and could visible smoke from a nearby chimney.
Wind speed
The speed of the wind is often significantly greater at altitude compared
to at ground level. For a model making an approach to land, this often
means that as it descends, the model will be flying into a weakening wind.
For a model which has been trimmed as discussed in the previous part of
this article, whose rate of descent is being controlled primarily using
power, the change in wind strength may mean that a change in power will
be called for as the model descends.
Wind direction
Also, the direction of the wind will vary with altitude. In the Northern
hemisphere, the wind tends to veer (turn clockwise) with altitude. For
example, if the wind at ground level is from the west, the wind a little
higher up will tend to be more from the North. This is a significant factor
in full size flying, but for model flying usually less so, especially
as in model flying we don’t start an approach from all that far
above the surface of the earth.
Gusts and turbulence
Gusts and turbulence often accompany wind, making it more difficult to
fly accurately. Models with a high degree of built in stability such as
trainers will tend to be more affected by gusts and turbulence than models
with less built in stability such as fully aerobatic pattern models. For
this reason, on gusty days a training model can be a real handful to fly
accurately on approach.
|
|


The three phases of the landing
The landing itself consists of three distinct phases; the flare, the hold
off and the touch down. Let’s have a look at each of these in turn:
1. The flare
As the model approaches the threshold of the runway, if the approach is
good, it will be gently descending, with a small amount of power still
applied. The flare is the phase of the landing where the model transitions
from a descending approach to level flight just above the runway.
The flare starts while the model is at a height of around one wingspan
above the ground. A small amount of up elevator is applied, gently and
carefully, so that the model ends up flying level, just a few inches above
the runway. To achieve this, you'll want just enough up elevator to level
the model out; not more, and not less. During the flare, the power should
be reduced to idle.
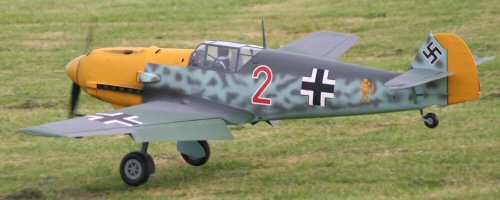
| This large Cub is on approach, and is still a few feet above the ground. The pilot will begin the flare when the model is a little lower. | Full size aircraft employ an elevator trim tab to set different elevator trim settings. |


2. The hold off
The model should now be just above the runway, in level flight with the
throttle closed. The hold off phase of the landing is just as it sounds;
the objective is to hold the model a few inches above the runway, while
the speed bleeds off.
Since the model will be slowing down, it will naturally want to drop its nose. However, as the model slows, the angle of attack of the wing must be increased so that the wing can generate sufficient lift to keep the model airborne. Therefore, to hold the model off, you'll need to progressively add up elevator, ideally at a rate which exactly matches the deceleration of the model. If you get it right, the model will progressively adopt a higher nose attitude as it slows down, without gaining any height.
As the speed reduces, you can allow the model to start to descend very
gently, while still maintaining a high nose attitude. The way to do this
is to maintain up elevator, but not quite enough to keep the model flying
level. Remember that if you hold a given amount of elevator, as the speed
bleeds off the model will want to descend.
| Jets are generally highly loaded, and therefore need to approach faster than prop driven models. | John Ranson's Mosquito makes a beautiful approach. |


3. The touch down
As the model slows, the nose attitude will become progressively higher.
Of course, this cannot continue for ever, because at some point, either
the model will stall, or else you will run out of up elevator.
If the model is only just a few inches above ground level, a stall will likely not be much of an issue as the model doesn't have far to fall.
Nevertheless, before either of these happens you should allow the aircraft to touch down. This, as it sounds, is the moment that the wheels touch the ground.
An appropriate moment to allow the wheels to touch is when the nose attitude reaches approximately 5 degrees nose high, however the exact nose attitude will depend on a number of factors such as the design of the model and whether flaps are in use (more on them in a later part).
To initiate a touch down, simply stop adding up elevator as the model slows. Instead, just hold a given elevator defection. By no longer increasing up elevator, this will cause the model to descend and allow the wheels to make contact with the ground. Remember that in a normal, well controlled and correctly executed landing, down elevator will never be used, especially while the model is airborne.
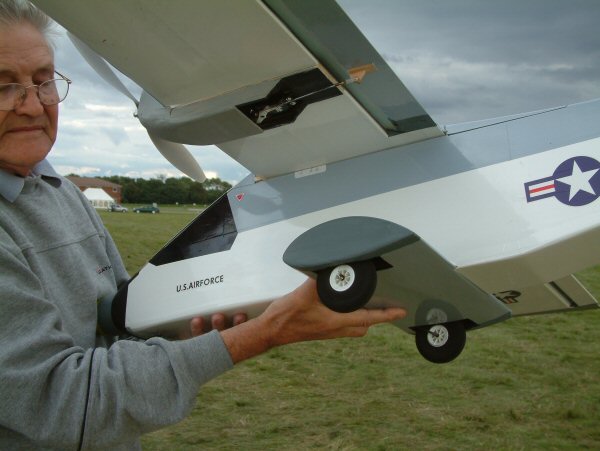
| This large P47 has a nose attitude of around +3 degrees and will soon be starting to enter the flare. | Taildragger models are a little more demanding to handle on the ground. |


Next time, we'll discuss the landing further, and the correct techniques for handling both a conventional model, and taildraggers.